Starting Cannabis Seeds in Peat Pellets
Germination is the beginning of life for any plant. This places greater responsibility on home cannabis growers to ace the process for perfect results. The internet is full of different methods for cannabis seeds germination- while some may work brilliantly, others may end up disappointing you and ruining your marijuana seeds.
Germinating seeds in peat pellets is an effective way to produce the best crop possible, and this article will take you through the exact process so you can enjoy growing cannabis from the comfort of your home.

How to Grow Marijuana seeds
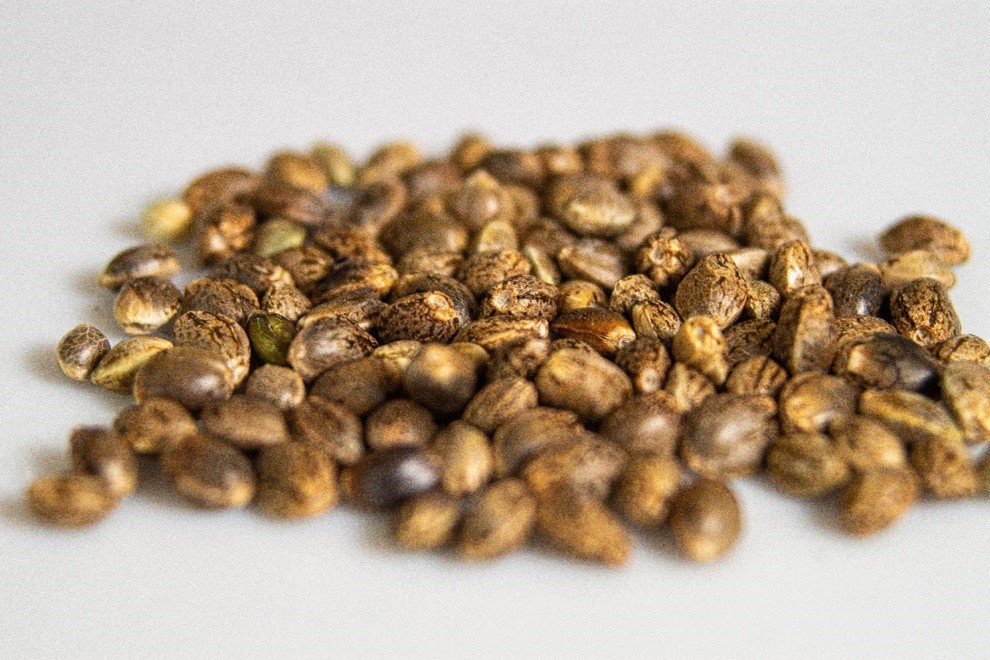
The marijuana plant starts as a tiny seed that resembles a pebble. Interestingly, this small thing holds the plant’s food supply that can last for a few days. During the germination process of cannabis seeds, the food stored inside converts into sugars, which the seed uses to break through the shell and sprout its roots.
Since the sprouting process is the first germination step, it should be dealt with care. You need to start with a high-quality seed and provide it with the optimal conditions for growth. Since optimizing natural mediums can be challenging, mediums such as peat pellets can come to the rescue of home growers.

Germinating Cannabis seeds with Peat Pellets
Various natural mediums are used to germinate cannabis seeds, such as soil, water, and Rockwool. However, achieving optimal growing conditions in these mediums can be tricky; therefore, using a natural, biodegradable medium such as peat pellets is a smart choice.
What are Peat Pellets?
Before discussing the germination steps, it would be good to understand what peat pallets are and what makes them special.


A peat pellet is a natural growing medium that comes in the form of little compact discs. These discs provide the seeds with essential nutrients required for growth. They are composed of peat moss, a mesh, and ingredients such as fertilizer, ammonium, and lime to help sprout seeds into seedlings.
Have a look at what makes peat pellets a convenient way of germinating marijuana seeds.
· They are easy to work with because they are very light in weight and well compressed. These characteristics make them suitable for transporting and moving into containers or directly into ground soil.
· They act as the medium and the container, making it simple for new home growers to germinate cannabis seeds successfully with minimal labor and water.
· An eco-friendly alternative as peat pellets is biodegradable and safe for the environment, unlike other popular choices like Rockwool.
Step by Step Guide for Germinating Cannabis seeds in peat pellets
Now that we have covered all the basics about germination and peat pellets let's dive straight into the main process.
1. Prepare the Pellets
Once you have purchased your peat pellets, it’s time to prepare them for germination.
Although you can use any container, a pellet tray is recommended for home growers. Spread out your pellets onto the tray and make sure they don’t overlap each other. Also, leave some space between the pellets to allow room for expansion.
Pour water into the tray and soak the pellets until they expand completely. It is better to use warm, distilled water instead of tap water as the latter contains harmful substances that may not be ideal for these fragile younglings.
Keep adding water until the pellets rise up and fully expand. Once they have extended, remove the excess water from the pellet tray.

2. Plant your Marijuana seeds
Plant one seed inside each soaked pellet. Create small holes with a pen and use a tweezer to place the seed inside the pellet gently. Be careful not to push it too deep, or it might prevent the seed from sprouting. A depth of 1 cm or ½ an inch is ideal for cannabis seeds.
After planting the seeds, take the excess peat from the sides and cover it nicely. Once you have planted all the seeds, it's time to cover the pellet tray with a plastic wrap or a lid. The idea is to keep them moist and warm (20-25°C), preventing them from drying out. Placing the pellet tray near the window or a sunny spot is a good idea.
3. Keep Watering the seeds
You will need to water the pellets after a week of planting the seeds. However, you should not water them from the top as this can hamper the germination process.
You will need to water the pellets after a week of planting the seeds. However, you should not water them from the top as this can hamper the germination process.
4. Transplanting the popped seeds
Hopefully, your seeds will sprout in a week, and that's the time when they would need direct light. Whether you provide grow light or sunlight is entirely up to you.
With peat pellets, it is easy to transplant the sprouted seed because you don't have to pull them out of the pellet. Instead, you can simply place the pellet inside the pot you want to move your plant into. Don't worry about the roots, as they will eventually grow right through the pellet.
As you can see, germinating cannabis seeds at home is not a difficult task. However, if you have any more questions, you can check out these frequently asked questions.


FAQS
· Are peat pellets good for starting seeds?
Peat pellets are an easy, beginner-friendly, and hassle-free way to start your crop if you are a new grower.
· How long do peat pellets last?
Peat pellets don’t have an expiration date and can be used even after five years of purchase.
· How many cannabis seeds should I put in each peat pellet?
Ideally, you should plant one seed in each pellet.
· How do you water marijuana seeds in peat pots?
You can use a plant mister or pour water into the bottom of the tray to ensure your seeds remain moist.
· Can I germinate auto-flowering cannabis seeds in peat pellets?
Yes, you can. The process for germinating auto-flowering cannabis seeds remains the same as other marijuana seeds.
Are you wondering if marijuana is classified as a stimulant? Read our article to find out.